
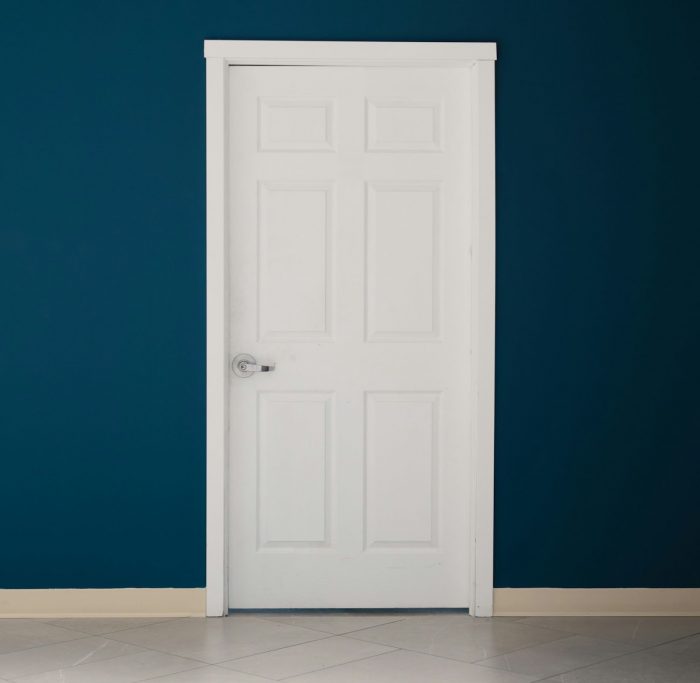
Your internal doors are some of the most frequently used elements in your home, and over time, they can start to look worn out. Refreshing them with a fresh coat of paint can make a significant difference, but without proper preparation or experience, you might end up with a less-than-perfect finish—think brush marks and uneven patches.
No matter if you're simply revamping a tired door or aligning it with your new interior design scheme, achieving a flawless result is essential. That’s why we’ve crafted this comprehensive guide to painting internal doors. From selecting the right paint to step-by-step instructions, we’ll walk you through everything you need to know to ensure your doors look immaculate every single time.
Table of Contents
What Is the Best Paint for an Internal Door?
Brush vs. Roller: Which Is Better?
Essential Tools and Materials
Step-by-Step Guide to Painting a Door
What Is the Best Paint for an Internal Door?
Choosing the right paint is crucial when it comes to painting your internal doors. While oil-based paints might seem appealing due to their durability, they’re not ideal for internal doors, especially if they face direct sunlight or are white. Over time, these paints tend to fade or turn yellow, making your doors appear dull and unattractive.
Gloss paints, on the other hand, are a fantastic option for internal doors. They offer excellent durability, resist fading, and are easy to clean. However, one downside of gloss paints is that they can highlight existing imperfections on the door's surface. To avoid this, consider semi-gloss or satin finishes, which provide similar benefits without the drawbacks of gloss paint.
Brush vs. Roller: Which Is Better?
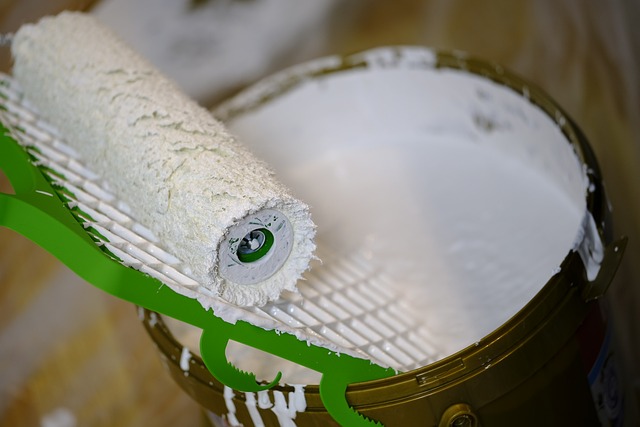
When it comes to painting your door, whether you should use a brush or a roller depends on the type of door you’re working with. For flat doors, a roller is typically the better choice since it covers large areas more efficiently and leaves fewer brush marks. On the other hand, if you're dealing with a panelled door, a brush is often the better tool. The bristles can easily reach into the grooves and recesses of the panels, ensuring a more even application.
To achieve the best results, start by rolling the majority of the door surface, then switch to a brush for the panels and decorative details. Finally, use a wide brush to smooth out the paint and achieve a uniform finish. Regardless of the tool you choose, make sure they’re high-quality. Mohair brushes and rollers are ideal, but microfiber or foam sleeves also work well for rollers.
Essential Tools and Materials
Materials
- Paint
- Primer
- Paint drip remover
- Sandable filler
Tools
- Paintbrush
- Paint roller
- Paint sprayer (optional)
- Roller sleeve
- Roller tray
- Tweezers
- Paint scraper
- Putty knife
- Utility knife
- Rags
- Bucket
- Dust mask
- Shop light
- Shop vacuum
- Foam brushes
- Orbital sander
- Sanding block
- Sandpaper or sanding sponges
Step-by-Step Guide to Painting a Door
Step 1: Prepare the Work Area and Door
Before you begin, ensure your workspace is protected. Cover the floor and surrounding surfaces with drop cloths or old newspapers to catch any spills. If you're using a paint sprayer, extend the protective area further, as the spray can travel farther than anticipated.
Remove the door from its hinges if possible. This allows for better lighting and minimizes the risk of paint running. Lay the door flat on a stable surface during the process.
Clean the door thoroughly with a household cleaner, paying special attention to the handles. Remove any existing hardware such as handles or locks to avoid getting paint on them.
If there’s any old paint on the door, use a paint remover and scraper to strip it off. Be thorough to ensure a clean surface for painting.
Step 2: Fill and Sand the Door
Fill any dents, scratches, or holes in the door with a sandable filler. Once filled, lightly sand the door with fine-grit sandpaper or a sanding sponge to smooth out rough spots or chipped paint.
After sanding, vacuum the dust thoroughly and wipe the door down with a damp cloth. Allow it to dry completely before applying another layer of filler if necessary. This step is critical because it ensures the primer adheres properly to the surface.
Step 3: Apply Primer
Apply two coats of primer to the door, allowing each coat to dry fully—ideally overnight. After drying, lightly sand the surface again to eliminate any bumps or leftover imperfections. Vacuum the dust before moving on to the next step.
Step 4: Paint the First Coat
Begin by painting the edges of the door with a roller, using smooth, even strokes. If your door is flat, use vertical strokes with the roller to cover the entire surface, avoiding drips and bubbles. For panelled doors, paint around the panels first with the roller, then use a brush for the panels themselves and the edges.
Allow the first coat to dry for 4–6 hours to prevent smudging when applying the second coat.
Step 5: Paint the Second Coat
Apply a second coat of paint following the same technique as the first. Use a brush to smooth out the edges and corners for a polished finish. If you prefer, you can use a paint sprayer for a faster and smoother application, but be sure to cover the surrounding area with protective sheets.
Let the door dry for 24 hours. Open windows and doors to ventilate the room, especially if using strong-smelling paints. Once dry, reinstall the hardware and rehang the door if you removed it earlier. Step back and admire your handiwork!
Leader Doors: Your One-Stop Shop for Internal Doors
With this guide, you now have the skills and knowledge to refresh your internal doors with ease. However, if your current doors are beyond repair, Leader Doors offers a stunning selection of internal doors. Upgrade your space with a brand-new door that fits perfectly with your home’s aesthetic.
Related Articles
How to Hang a Door
How to Change a Door Handle
And don’t forget to explore our blog for more home improvement tips and tricks!
Vibration Transmitter,Wireless Vibration Transmitter,Vibration Sensor Transmitter,Eddy Current Sensor
Wuxi Winsun Automation Instrument Co., Ltd , https://www.winsunwx.com